

Click here to Download a
Detailed Description of 30.40-BASIC CEPHALOMETRICS-Imaging and AnalysisIntended Audience and Prerequisites
The Intended Audience for this course are dentists, dental hygienists, orthodontists, orthodontic assistants, dental specialists, and the students in these dental professions who plan to provide orthodontic care to patients. It is important to identify a patient’s underlying bone structure to diagnose a patient’s growth pattern and understand the relationships of the jaws, the teeth, and other structures. With this knowledge, the clinician will be able to properly treat the patient generating the most predictable and successful outcomes .
A main target for this course are employees of the office who enjoy understanding the impact of the patient’s bone structure and dental relationships on the outcome of orthodontic treatment. These individuals may be more accurate in the process of inputting data to yield reliable and valid measurements for the diagnosis of cephalometric image.
Course Content of 30.40-BASIC CEPHALOMETRICS-Imaging and Analysis
The Cephalometric Imaging and Analysis Course is 8 smaller courses where each one focuses on a special topic about cephalometrics. The run time for the entire course is 4 hours and there are 150 Knowledge Quiz questions which are listed under each smaller course.
This full course trains the individual to be an expert in understanding cephalometrics and explains why the methods that are taught are the best that are known currently. The learner must pass all 8 smaller courses to develop expertise and earn the full 17 credits of the Cephalometric Imaging and Analysis Course. Individuals who have learned the important concepts from this course will be able to produce a cephalometric image, analyze it, and understand the significance of changes in cephalometric relationships over time.
This is the only orthodontic training program of its kind with multimedia movies demonstrating each step of a procedure, detailed checklists that list each step, and specify the standard of quality to be achieved for the successful completion of a procedure.
Lessons of the Cephalometric Imaging and Analysis Course
This intensive course about cephalometric imaging and analysis includes 8 Lessons (Presentations and Knowledge Quizzes) in the following topics:
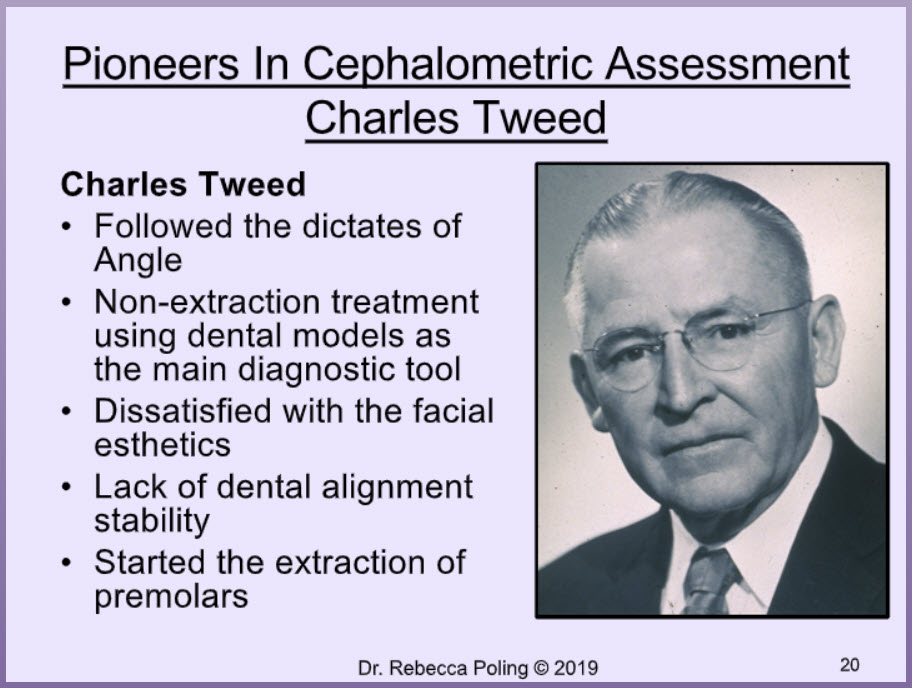
- History of Cephalometrics
- Producing the Cephalometric Image
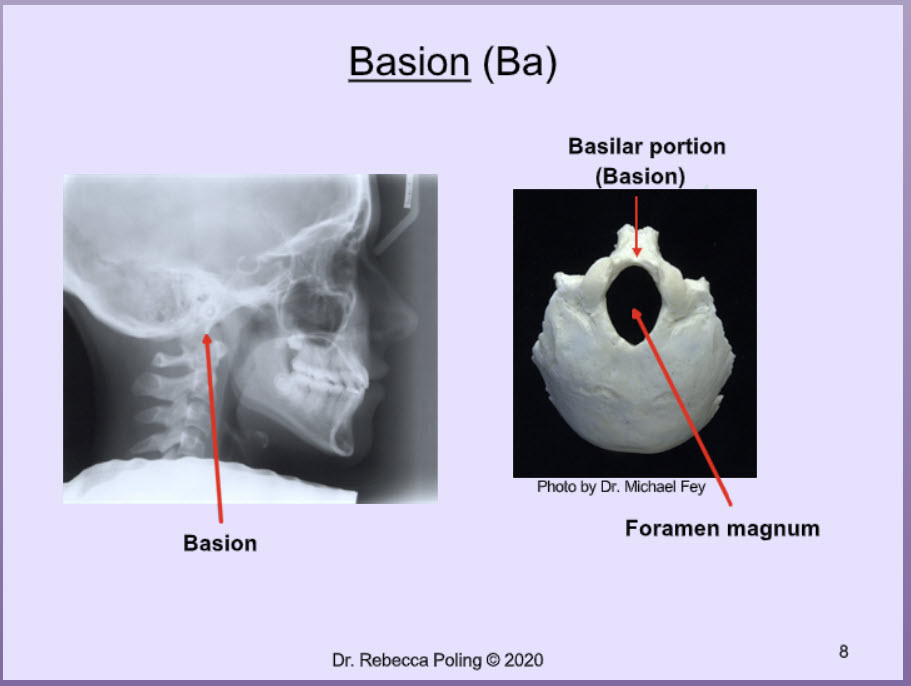
- Cephalometric Skull Landmarks
- Cephalometric Radiographic Tracing by Hand
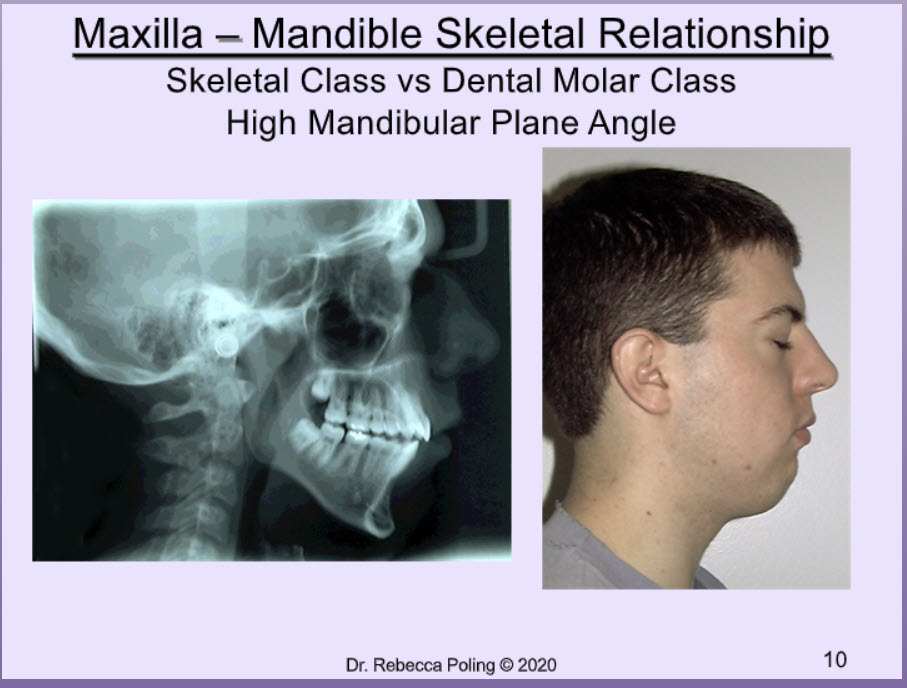
- 40 Common Cephalometric Measures
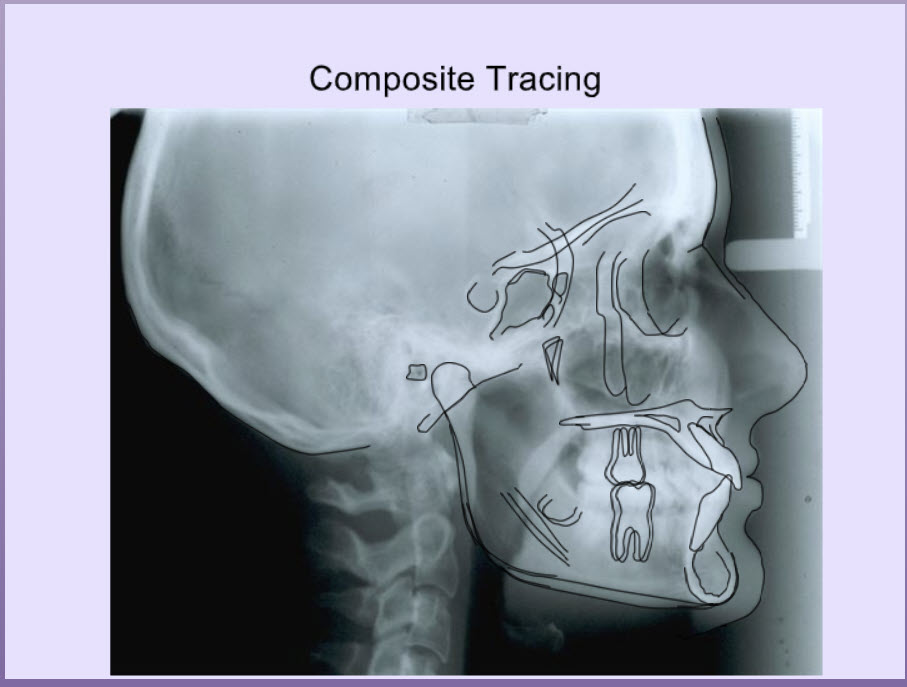
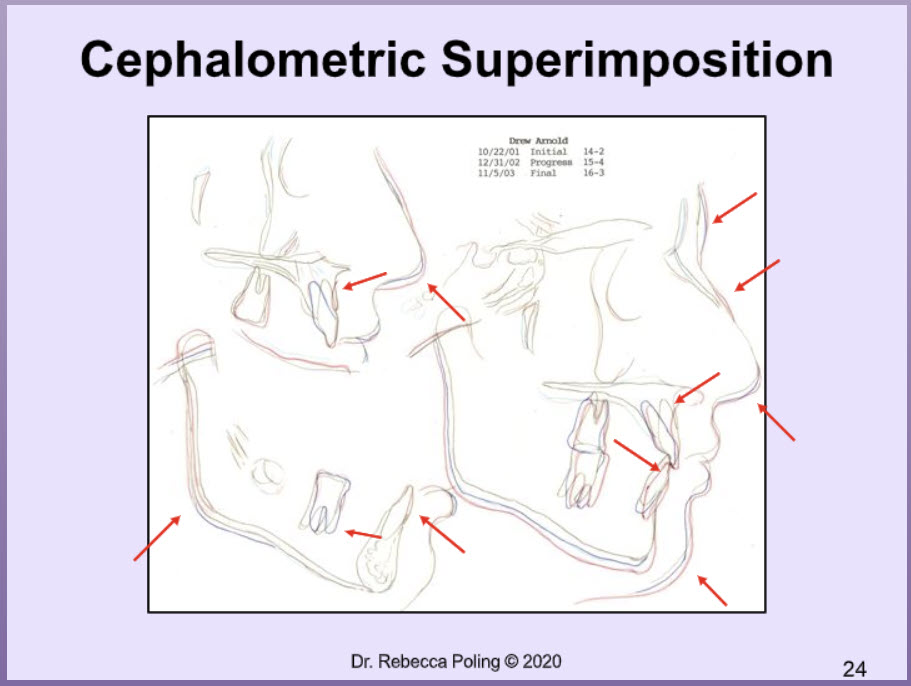
- Producing a Cephalometric Superimposition by Hand
- Digitizing and Analysis of a Cephalometric Image
- Cephalometrics Summary
The Educational Goal and Objectives for 30.40-BASIC CEPHALOMETRICS-Imaging and Analysis
Goal- The goals of this course are to train the student in every aspect of cephalometrics so that at the completion of this course the student will:
- Know the history of cephalometrics
- Produce an accurate and diagnostic cephalometric image
- Recognize, identify, and label important cephalometric landmarks on the skull
- Hand-trace a cephalometric radiographic image
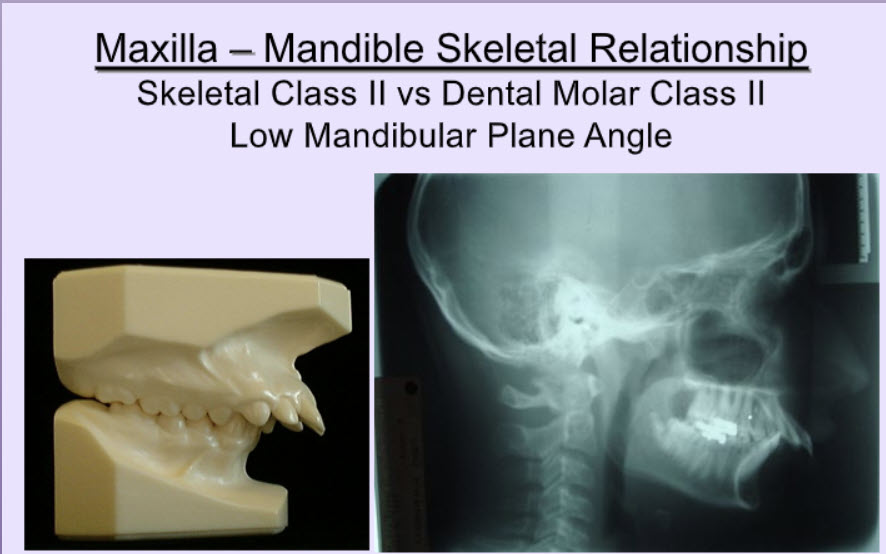
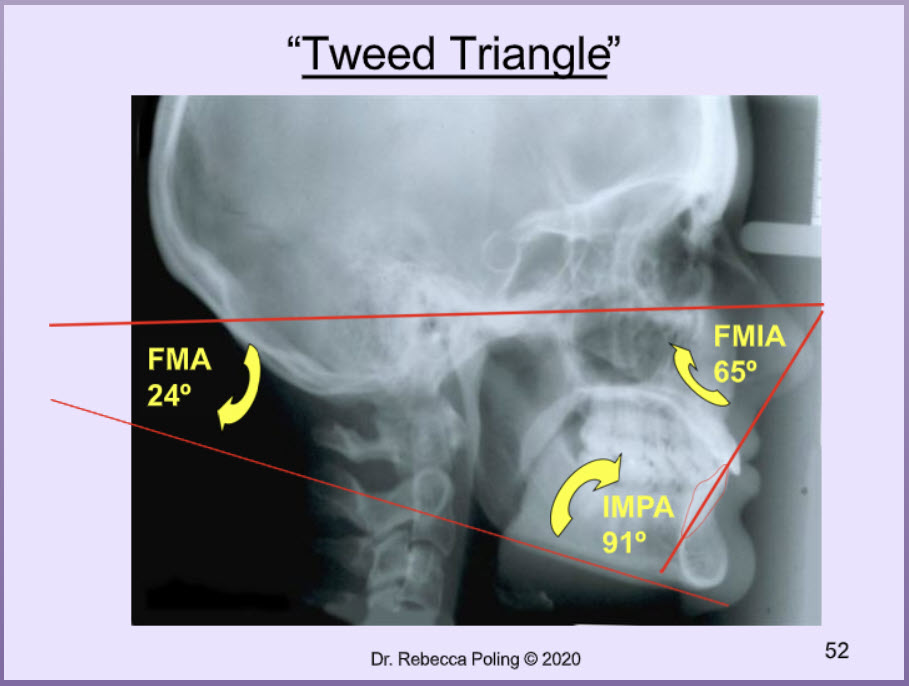
- Identify, construct, measure, interpret the measure, and state the limitations of 40 common cephalometric measures
- Produce a cephalometric superimposition by hand and analyze the changes that have occurred during the treatment time period
- Digitize and analyze a cephalometric image with accurate results that match the same image that has been traced by hand
- Understand and correctly interpret the meaning of selected cephalometric measures for predictive diagnosis and interpretation of the changes that have occurred during a time period from a cephalometric superimposition
Each of the 8 topics has specific objectives that are taught in the presentation and then measured when the student takes the Knowledge Quiz. At the completion of the entire course, the student will be able to fulfill the goals of the course clinically at the standard set in the Steps Checklists and Quality Checklists for this course. Then, the student will be ready to start evaluating and analyzing cephalometric images.
Objectives- At the conclusion of this presentation the learner will:
Refer to the 30.40-BASIC CEPHALOMETRICS-Imaging and Analysis Course Description for a list of the Objectives for each of the 8 sub-courses.
Course Materials Included in this CE Activity:
After creation of a free OrthoTraining Student Account, selection of the 30.40-BASIC CEPHALOMETRICS-Imaging and Analysis and payment of the US$340 subscription fee for 30 days of access, the user will receive:
- 30 days of access to the 30.40-BASIC CEPHALOMETRICS-Imaging and Analysis
- Interactive online Presentation available for unlimited viewing during the access period
- 6 Interactive online Knowledge Quizzes to measure learning
- SCORM Tracking- Collects data on student viewing time, Presentation score, and Knowledge Quiz scores for "grade" reporting
- Student Dashboard Report- Listing progress in completion of the course requirements used to generate a "grade" for the course if needed
- Printable copy of the Course Completion Certificate with OrthoTraining-Awarded CE Credits
- Downloadable digital copies
- Instructions for a Student Notebook- to include in a Student Notebook that also may enclose course documents and checklists
- Course documents: a Course Script listing the narration of each presentation slide
- Step-by-step and quality control checklists that are used in the hands-on training
- Online Feedback Form to OrthoTraining to evaluate the quality of the course
Other Information about this CE Activity: 30.40-BASIC CEPHALOMETRICS-Imaging and Analysis
Course Subscription Fee: 30.40-BASIC CEPHALOMETRICS-Imaging and Analysis subscription fee is US$340 for 30 days of access to the course and Course Resources for a single user.
The Course Instructor is Dr. Rebecca Poling, an ABO-certified orthodontist, former professor at a major US university, international lecturer, and the Founder of OrthoTraining. She has no conflicts of interest.